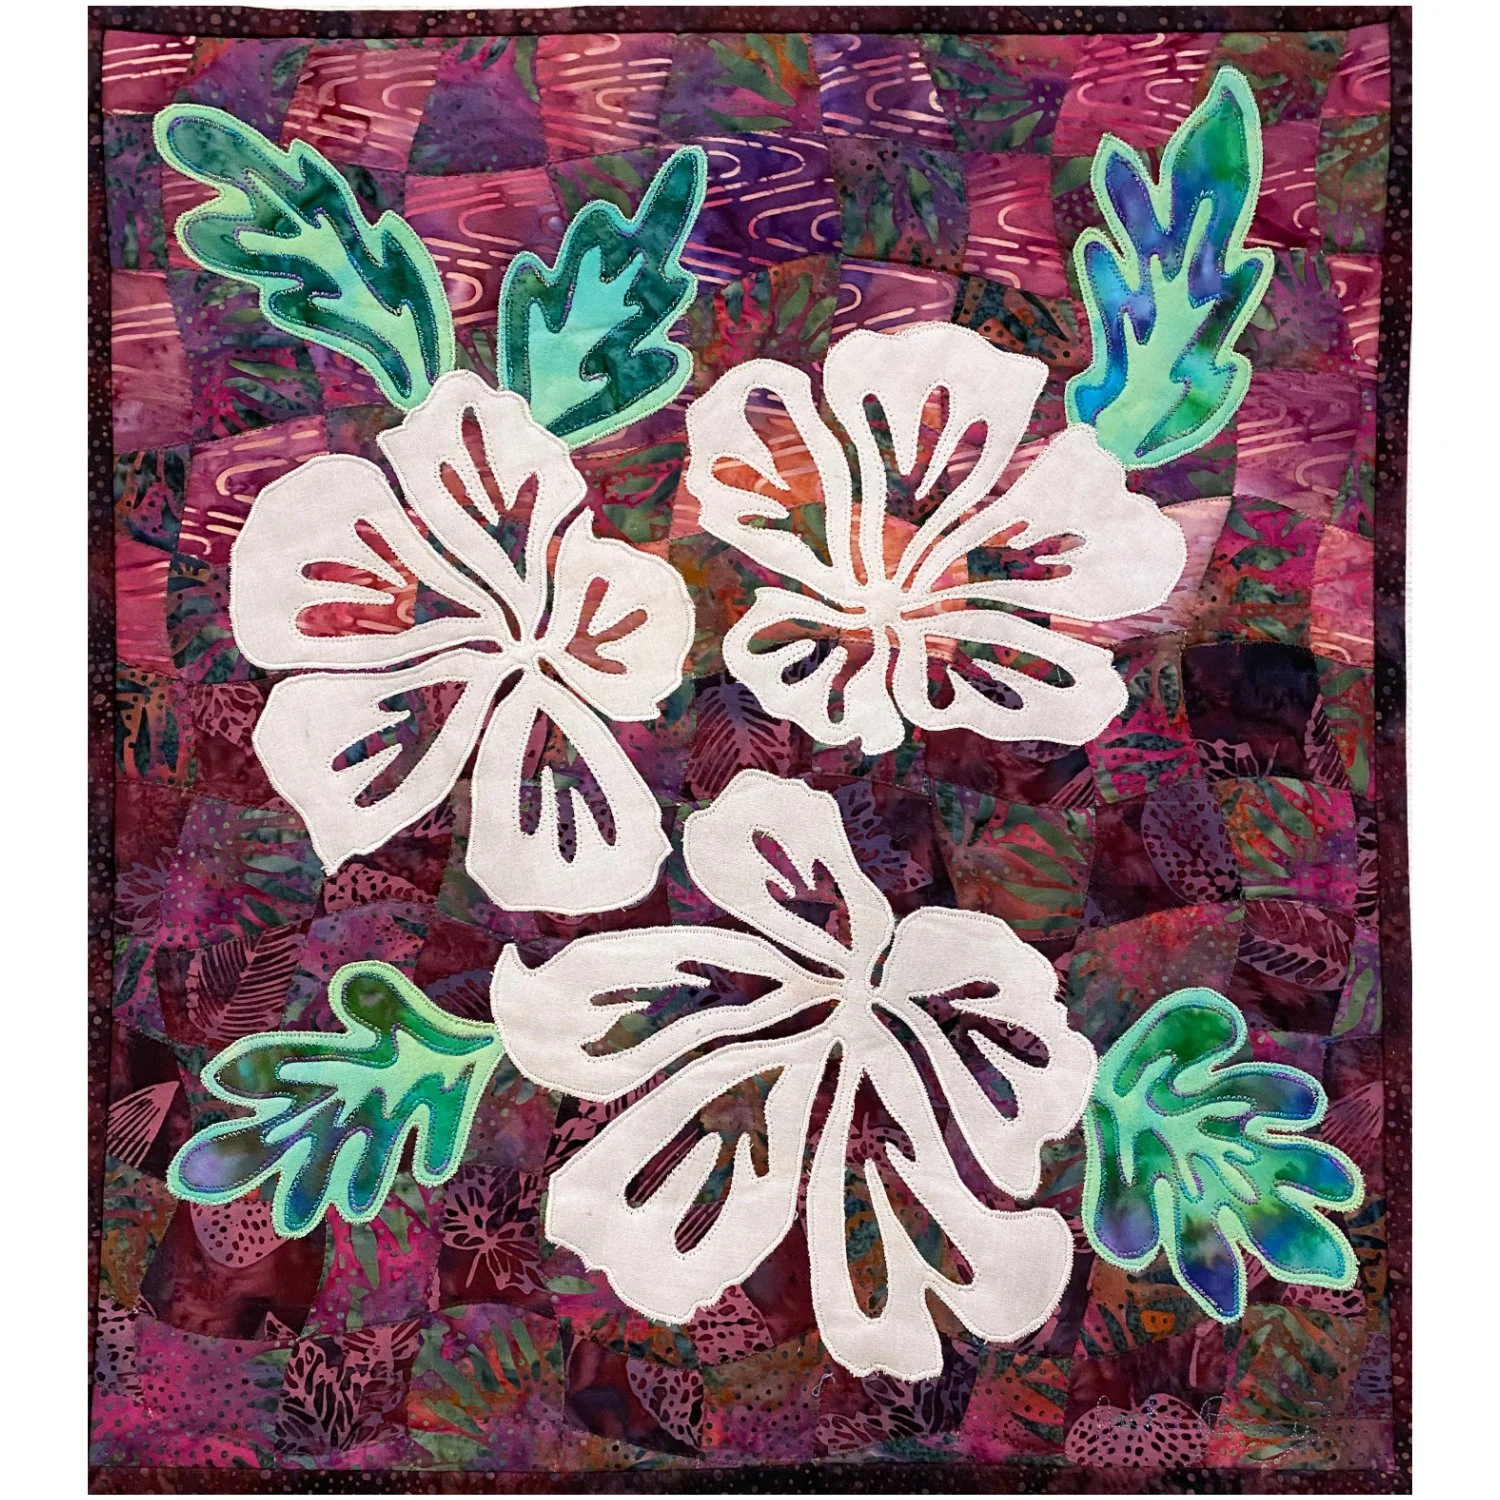
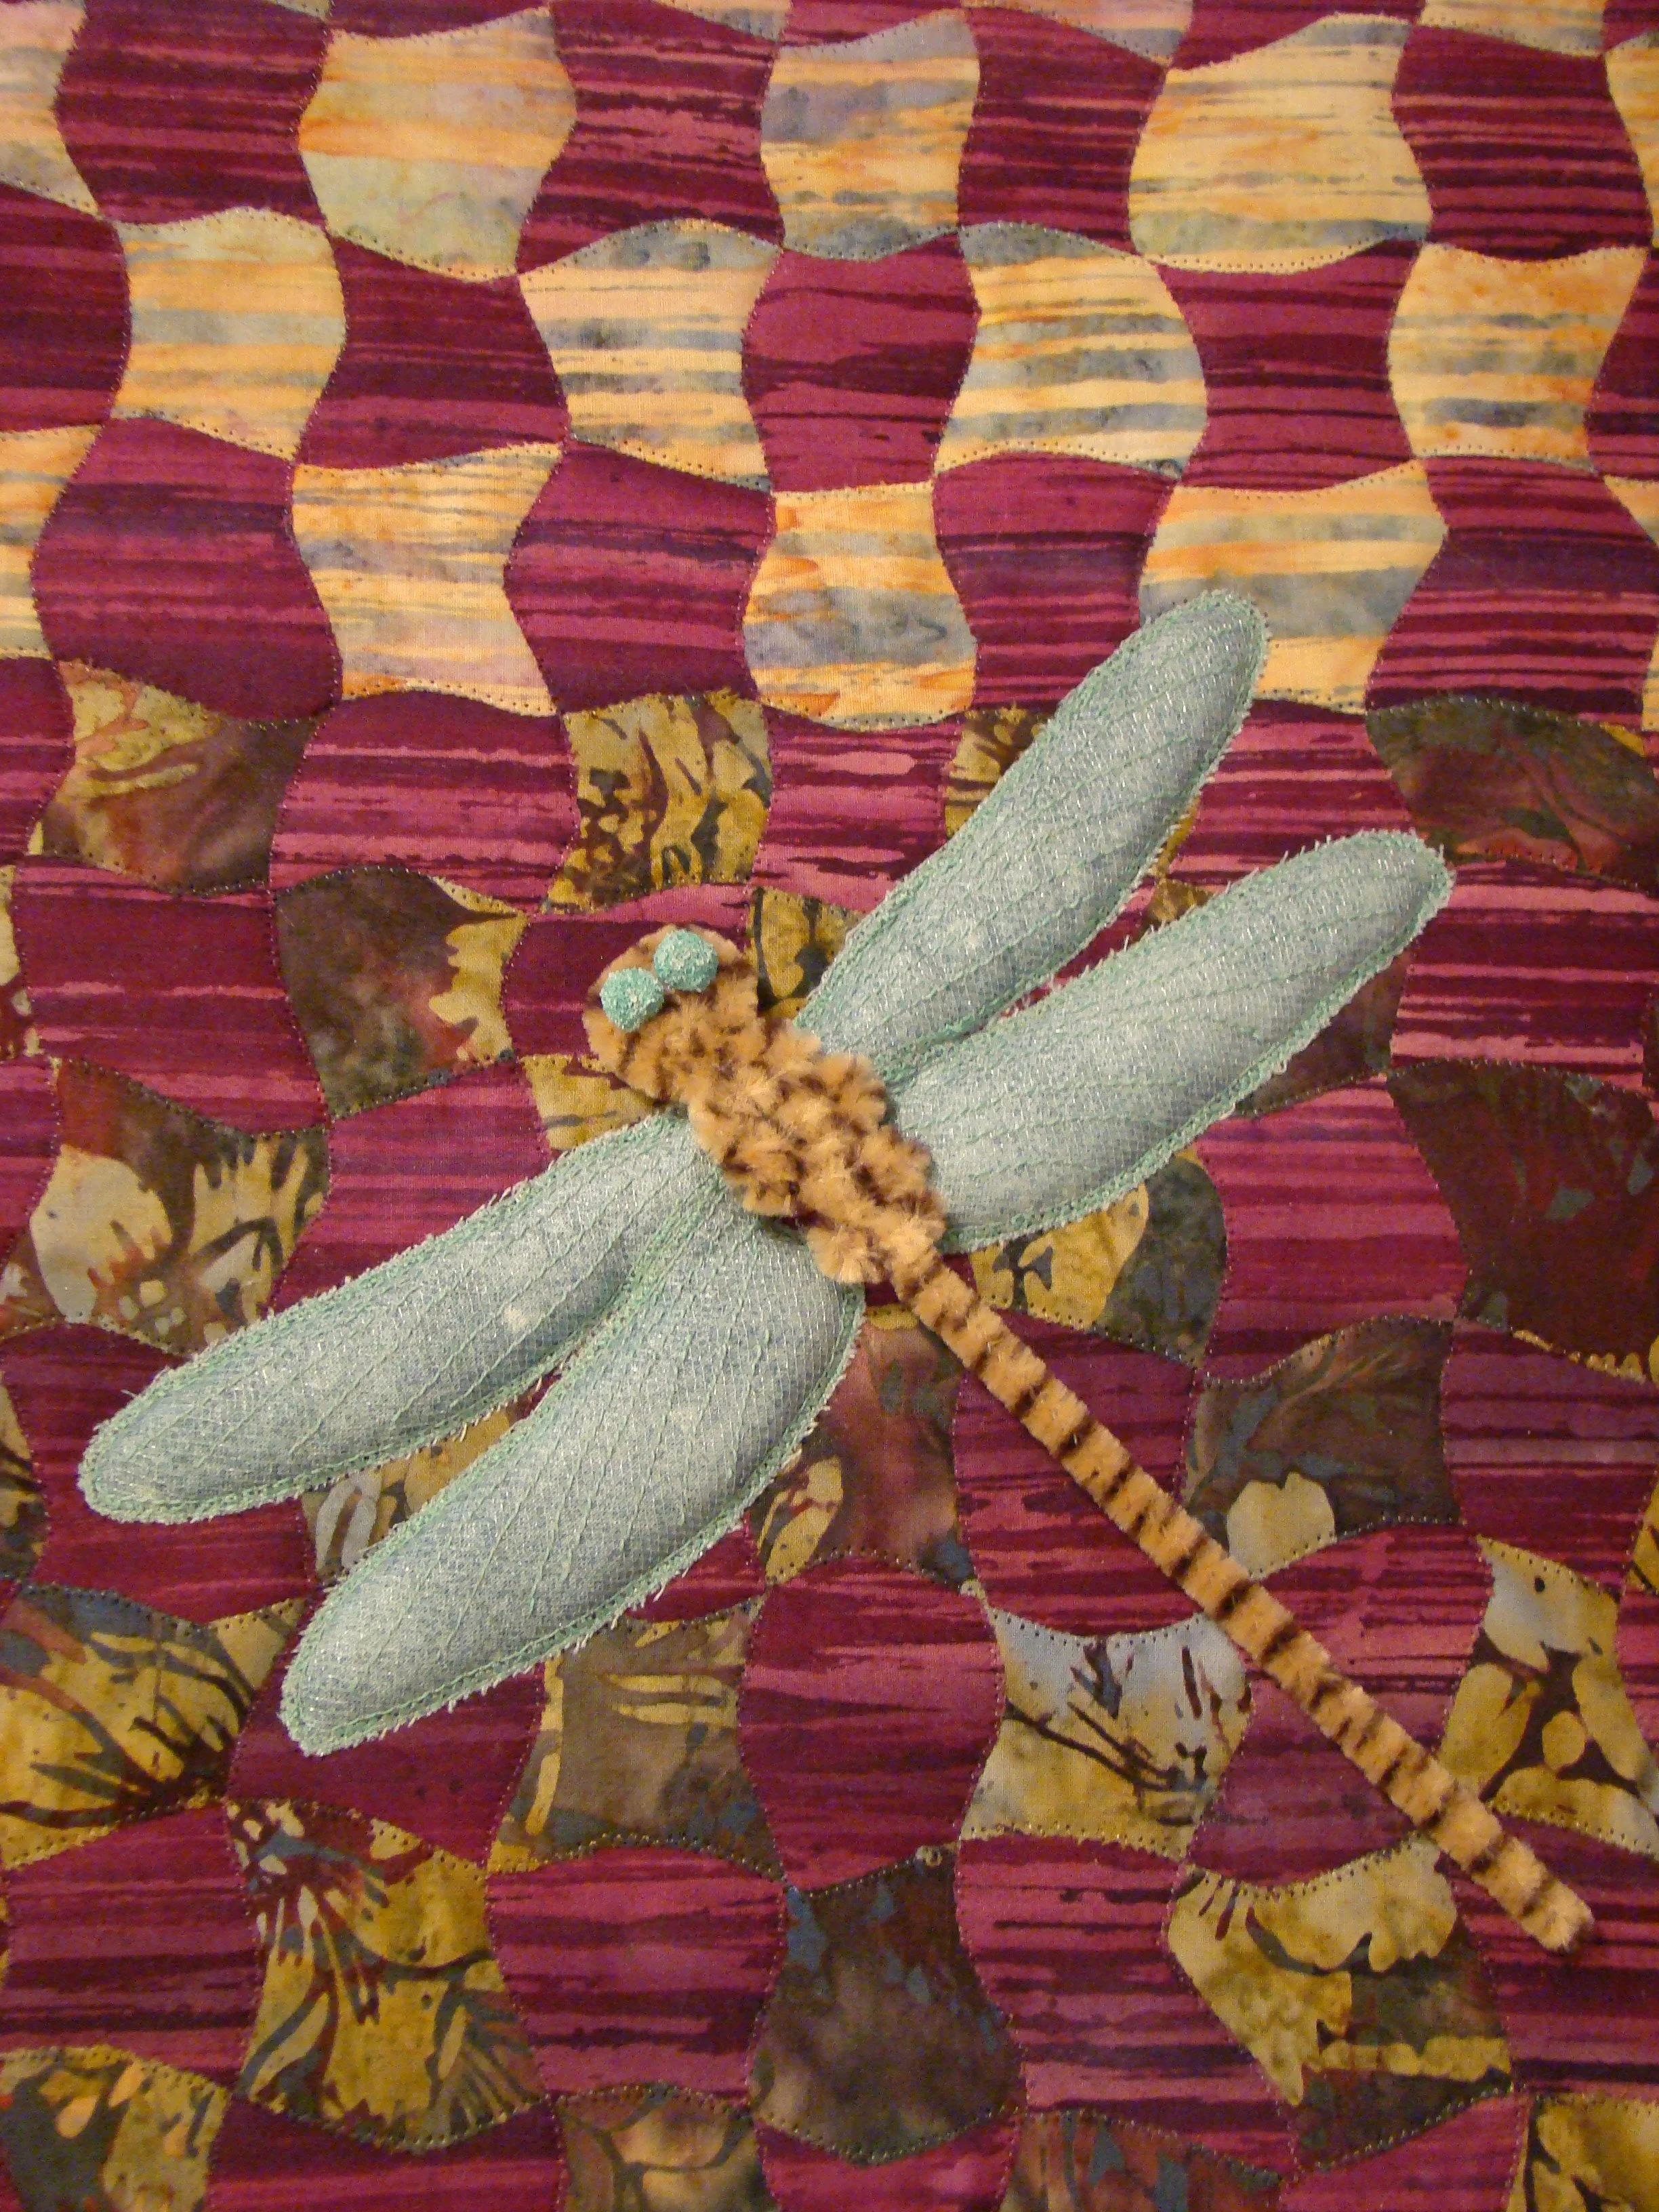
Whimsical Hibiscus
Designed and quilted by Jackie Berry
Made to demonstrate weaving a background
Finished in November, 2014
16.5” width x 18.5” length

Our art group playing with a woven background.
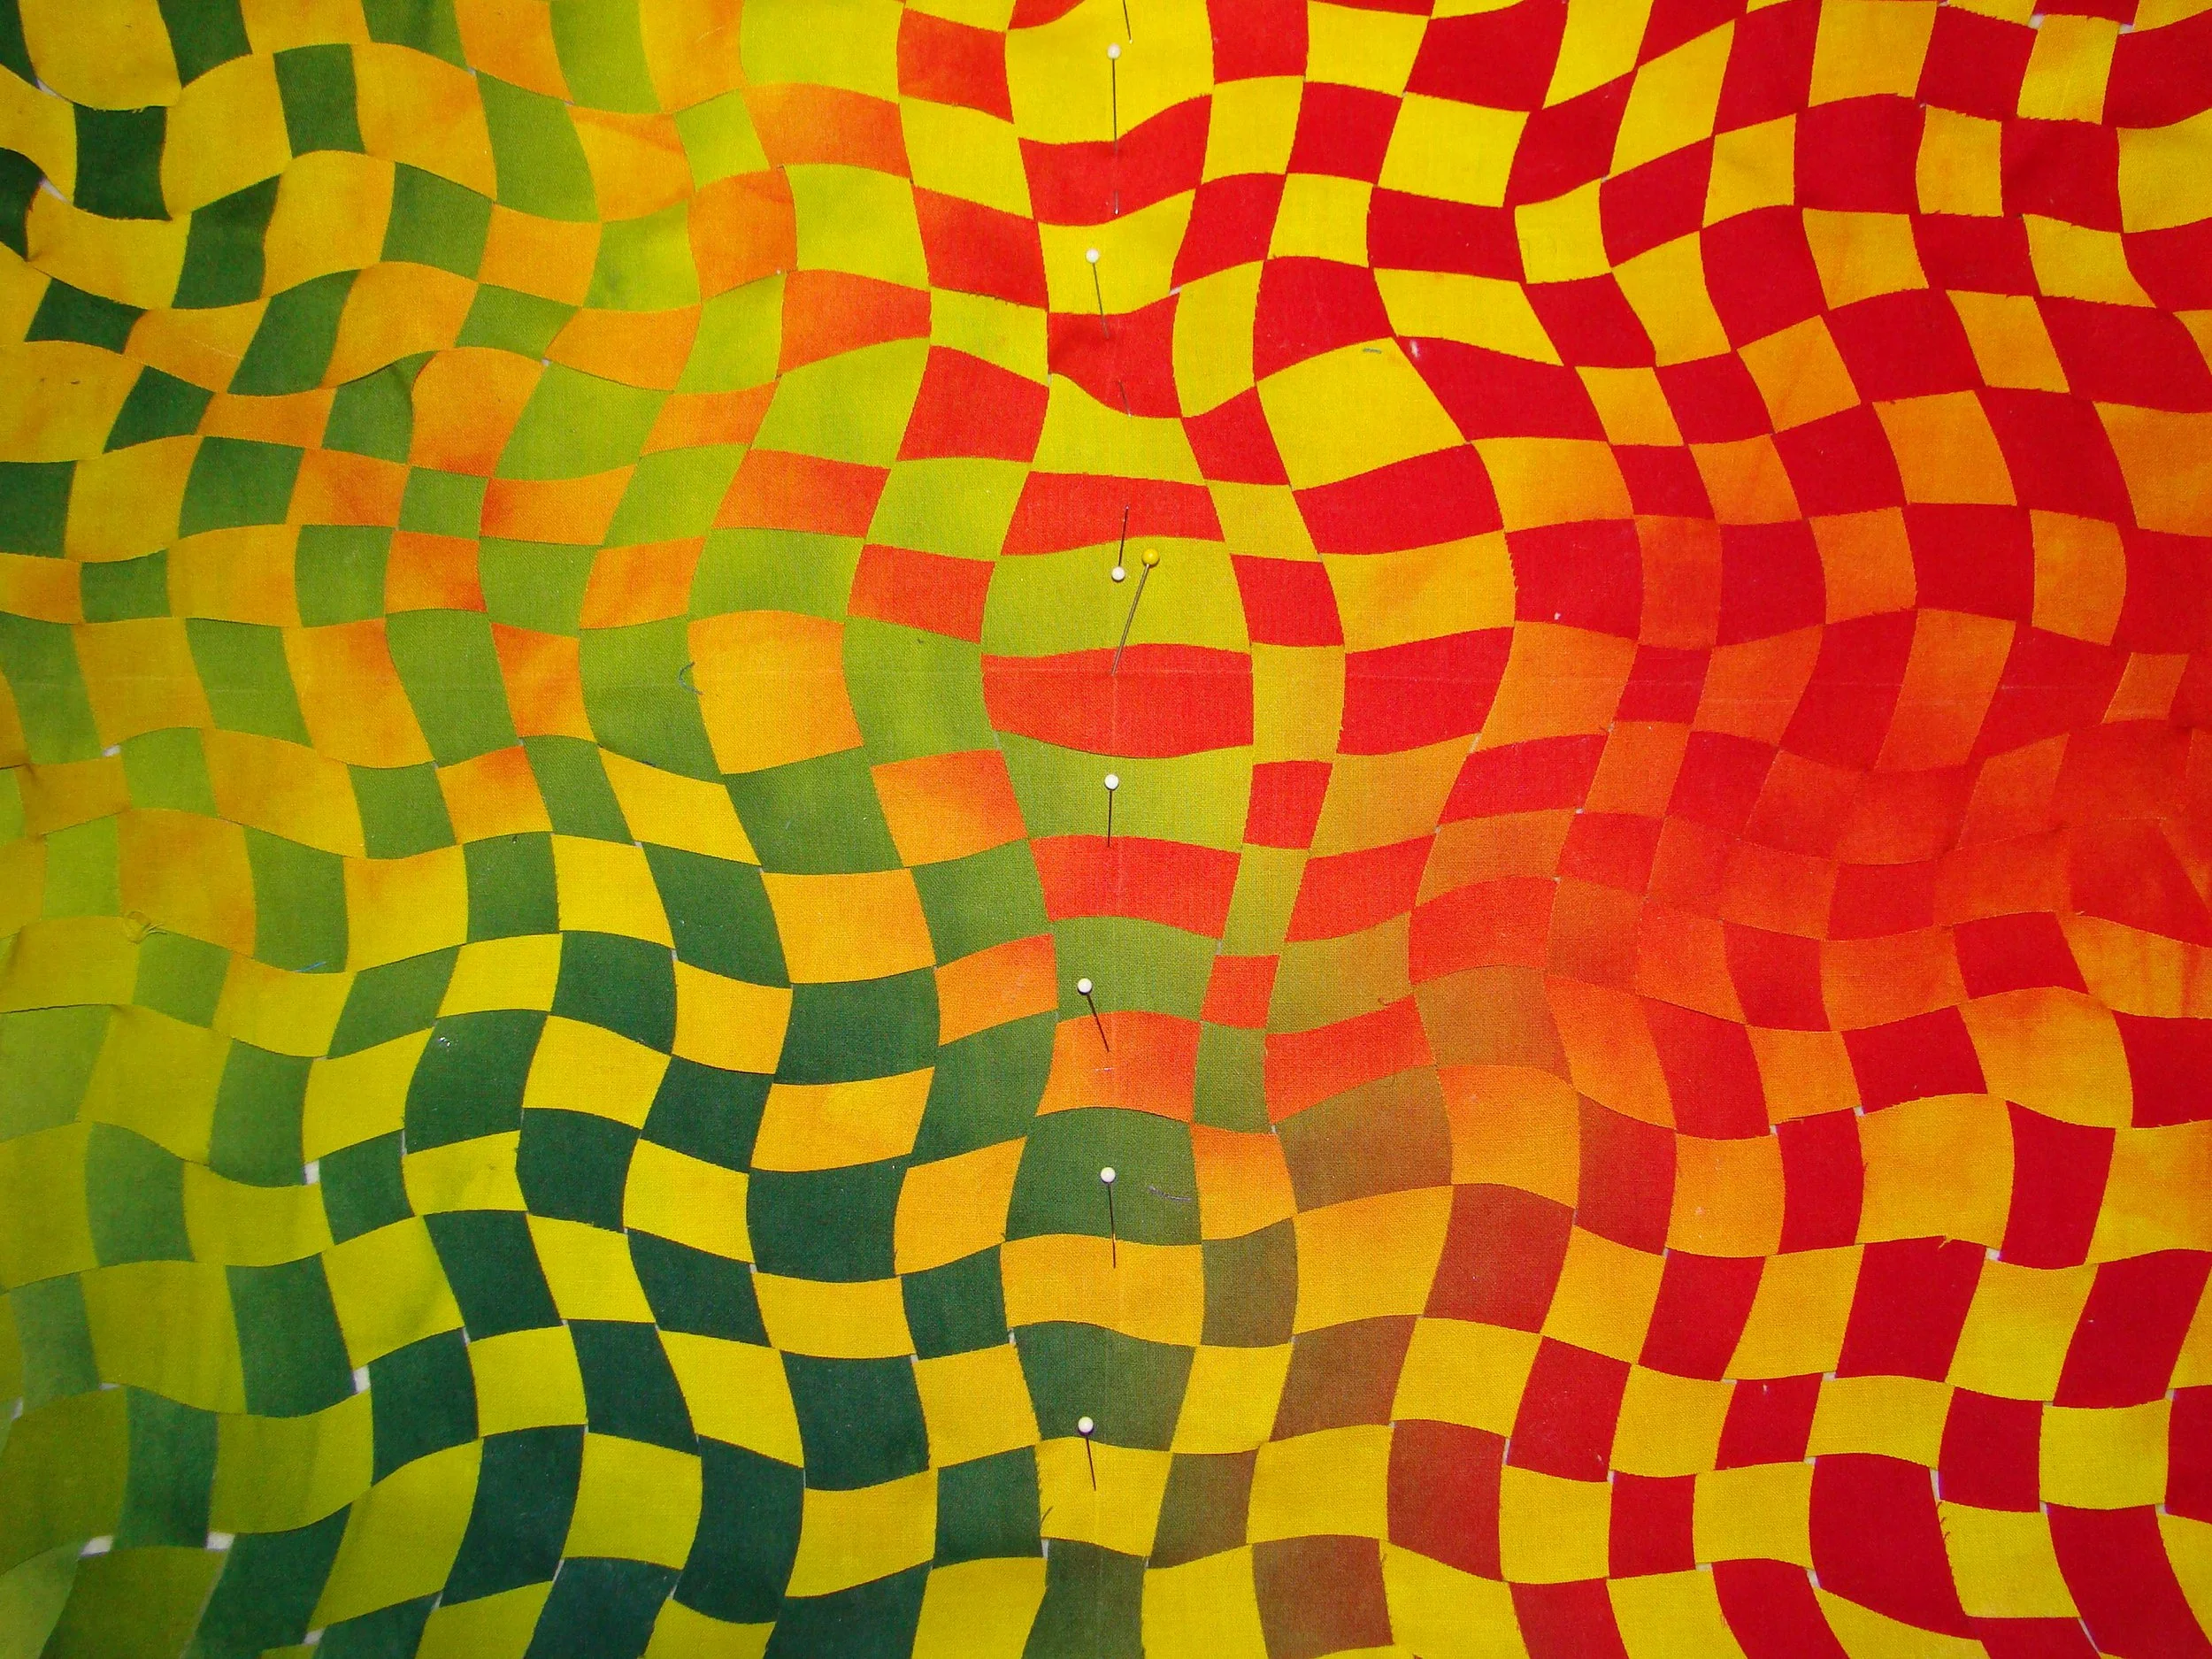
Work in progress
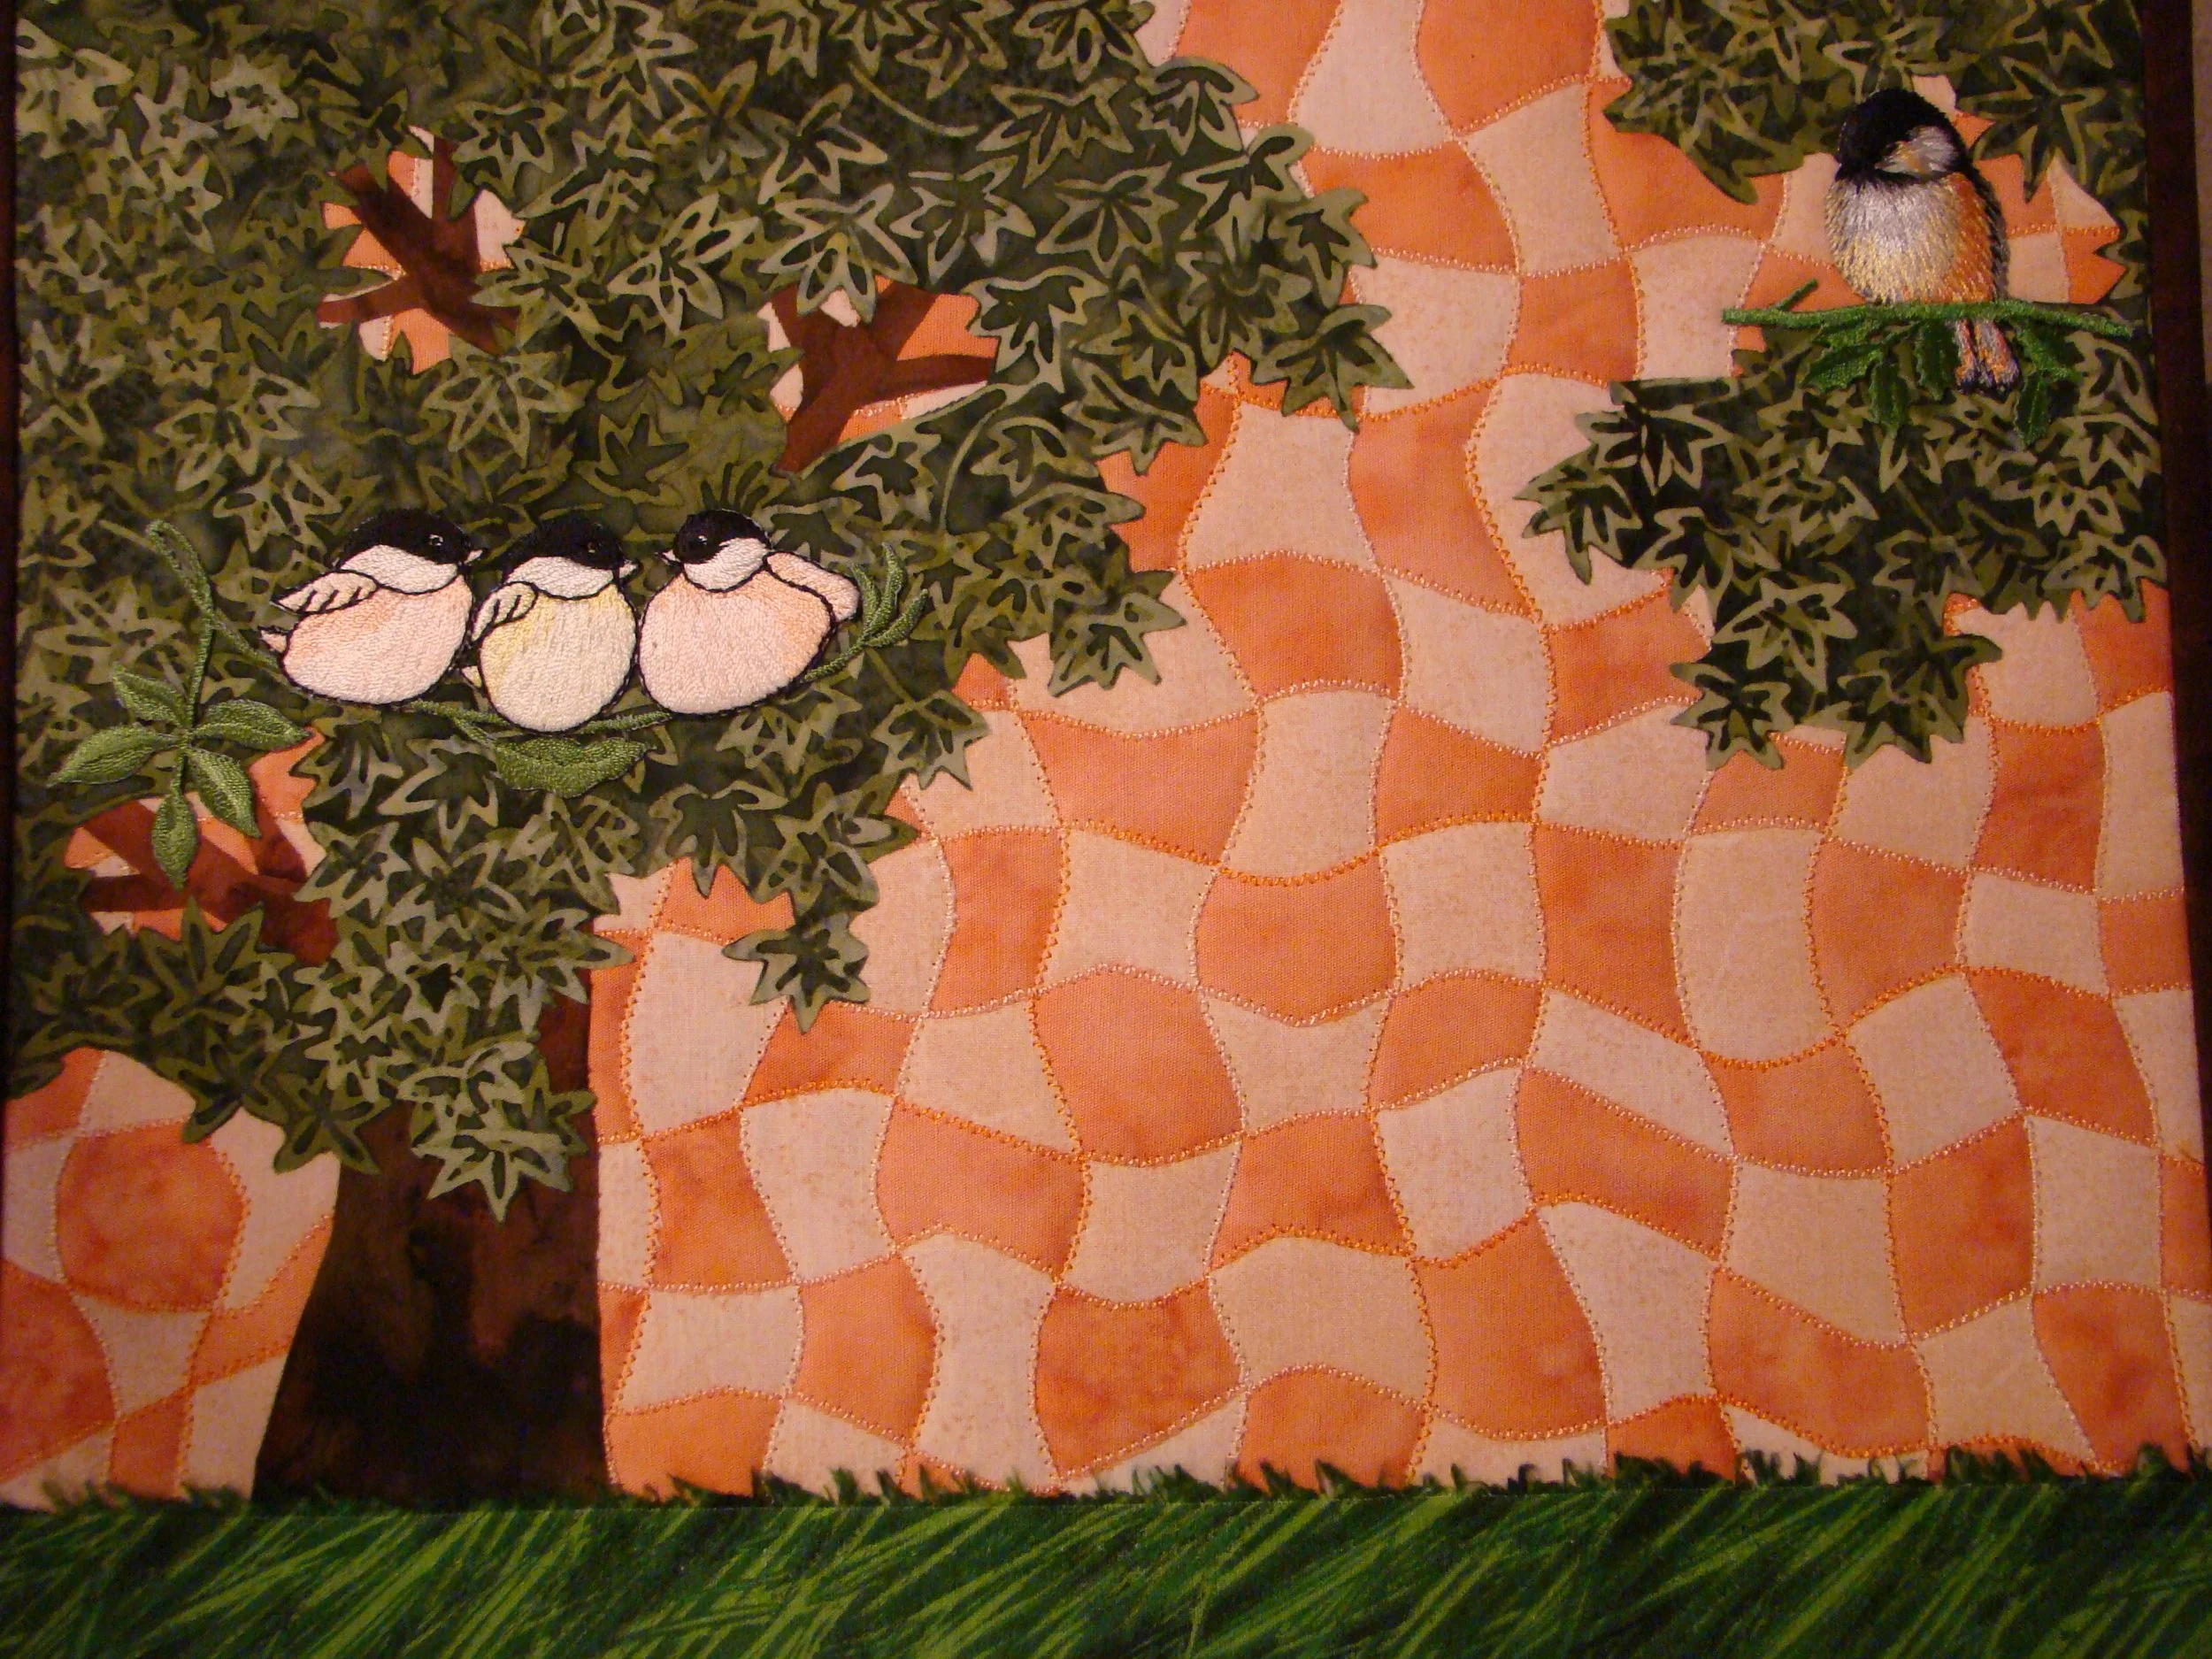
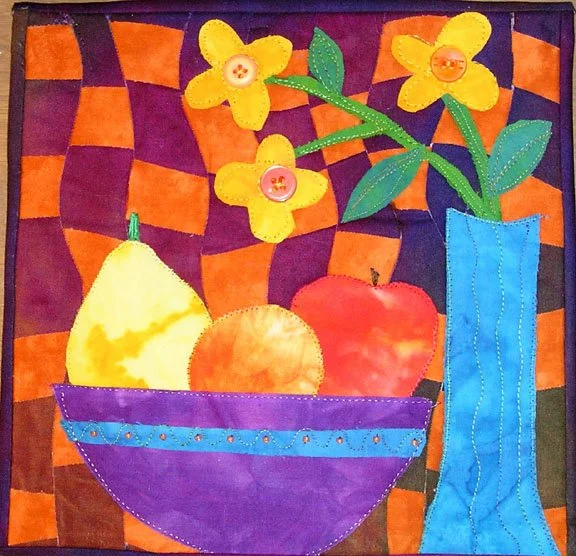
Another take on the technique…
And yet another one.
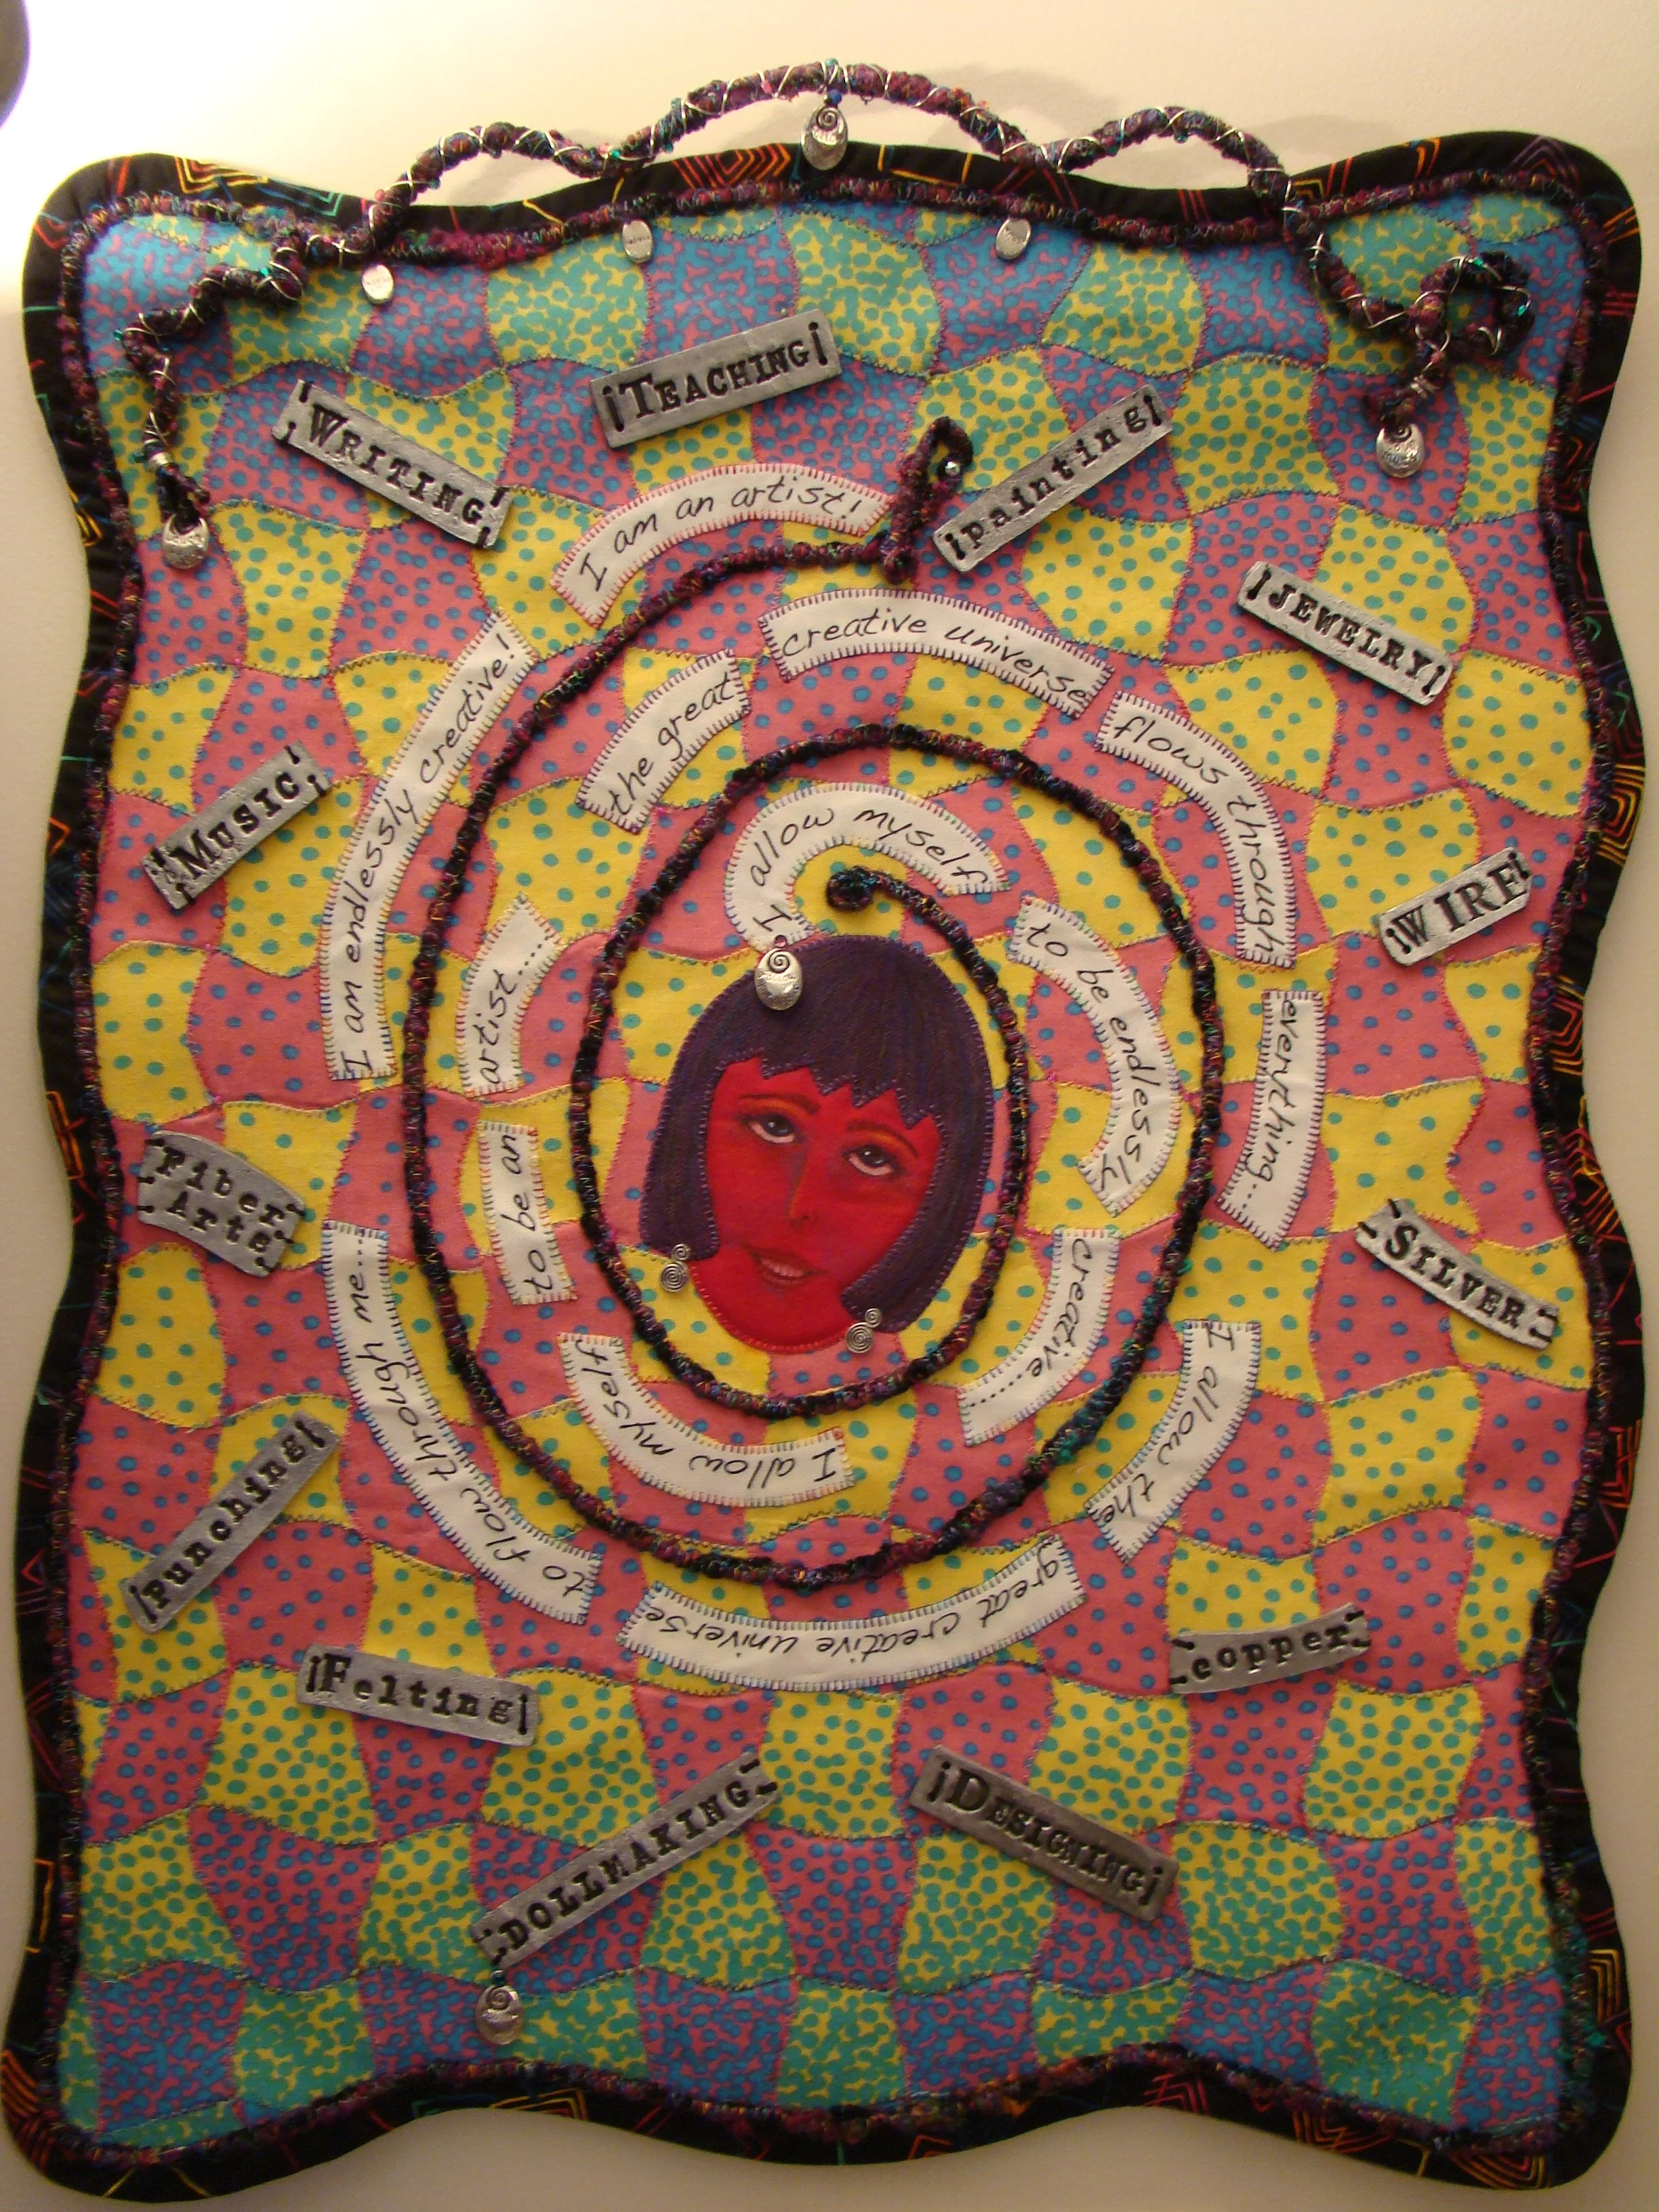
Each artist has her own style….

Mine more subdued with flowers designed from my photos…
During one of our ARTrageous meetings January, 2009, we tried a workshop on notes from Anna Faustino's book, Simply Stunning Woven Quilts. You start with 2 pieces of fabric cut the same size. (If using three fabrics, you’d sew two of them together to make it the same size as the other, or you could sew 2 sets of 2 fabrics together resulting in two fabrics the same size.)
I didn't want as much contrast as some of the pieces. I wanted it to be more subtle. I decided after starting that I didn't have enough contrast from a distance, so I added a third fabric. I just took my last strip, cut the 3rd fabric the exact shape as the last piece, and continued cutting the fabric from that point and wove those into the piece.
Once you have them the same size, you iron those pieces to fusible. You determine the center point and draw lines vertically and horizontally with a chalk pen to show the center of each fabric both directions. We demonstrated 1” width cuts. So we did ½” on each side of the center line going horizontally on one fabric, (vertically on the other fabric). From that point you draw lines 1” apart. I chose to do 1 ½” strips, so I did ¾” from both sides of the center lines, and 1½” after that. You then remove the paper from the fusible. Tape the top of the fabric, that you’ve drawn your vertical lines on, down to your cutting mat. You cut a wavy line with your rotary cutter, using your drawn line as a guideline, cutting the wavy line back and forth on both sides of the drawn line. She does not cut all the way through the tape, allowing the tape to hold them in order. After all your lines have been cut, remove it from the mat, leaving the tape on. Then cut the other one horizontally using the same technique. Once both are cut, lay the first fabric on top of your batting.
Start at the middle of that fabric and weave the 2nd fabric so that the 2 center lines match up. If it’s a big piece, you might pin this center strip down, so that it doesn’t shift. Weave the rest, smooshing them together nice and snug working toward you. Then you turn the piece, and weave from the center again toward you. Once they are all matching good, then you can fuse to the batting.
It was a lot of fun to do. When I got home, I decided to make some whimsical drawings of my photos of my hibiscus. I made them a light color to make them contrast and pop on the background. It remained unfinished until 2014 when I did the BTQG presentation of my art quilts. I completed the quilting and binding of it, so I could use it for show and tell at the presentation. I actually finished 11 of my unfinished pieces for that presentation, so I was grateful for the presentation, as I MADE TIME to quilt as many as possible. It was the last one to be finished for the presentation.