
Quilt Name – Sea Turtle Cover
Designed/Quilted by Jackie Berry
Made as a cover for my art journal
Size - 12" wide X 11 1/2" high
Date - Sept, 2021

Painted the Pellon 830 on the back to change the color. Could have just painted another piece.

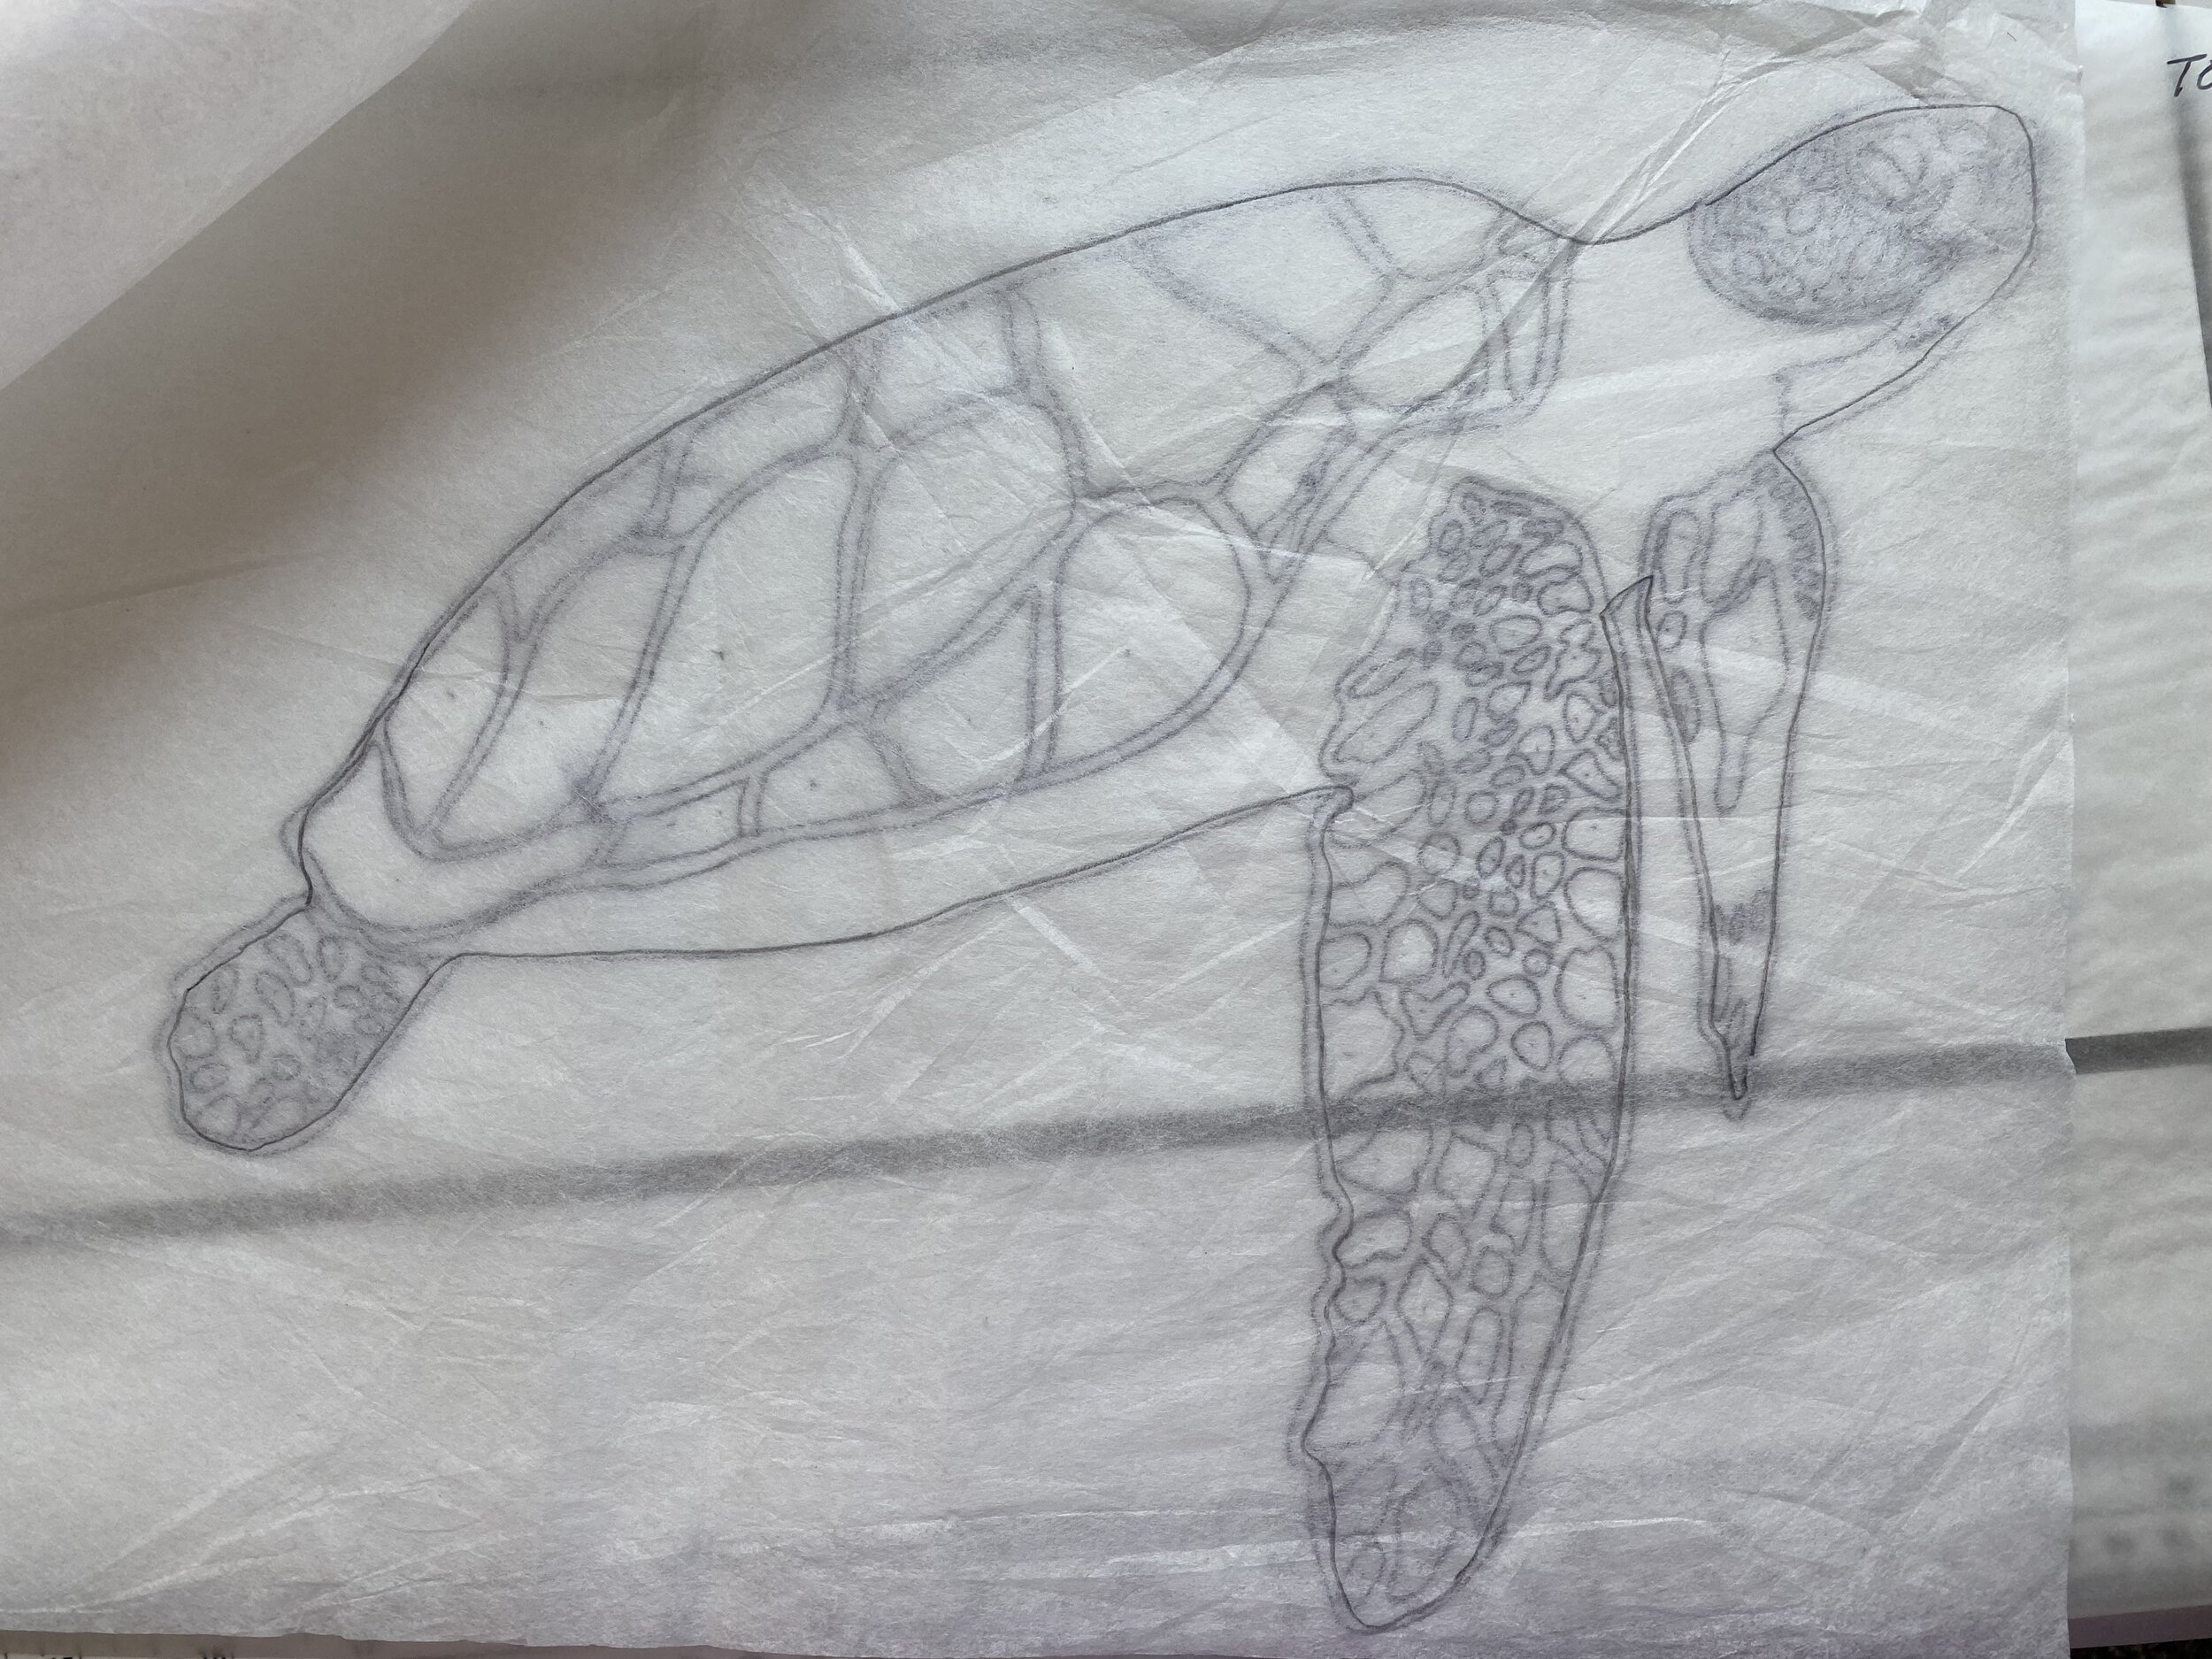
The paint was too thick to see through the light box, so used transfer paper to get the images on the painted pellon.

Put a dot in the circle or shapes as you draw around them.

Leave the sections intact to make it easier to hold down the pattern.

Use heat tool to burn away the pellon, doing so on a piece of glass. Leave the pattern down til all pieces are burned. Then gently lift.

All spaces burned away. Now separate sections with scizzors.
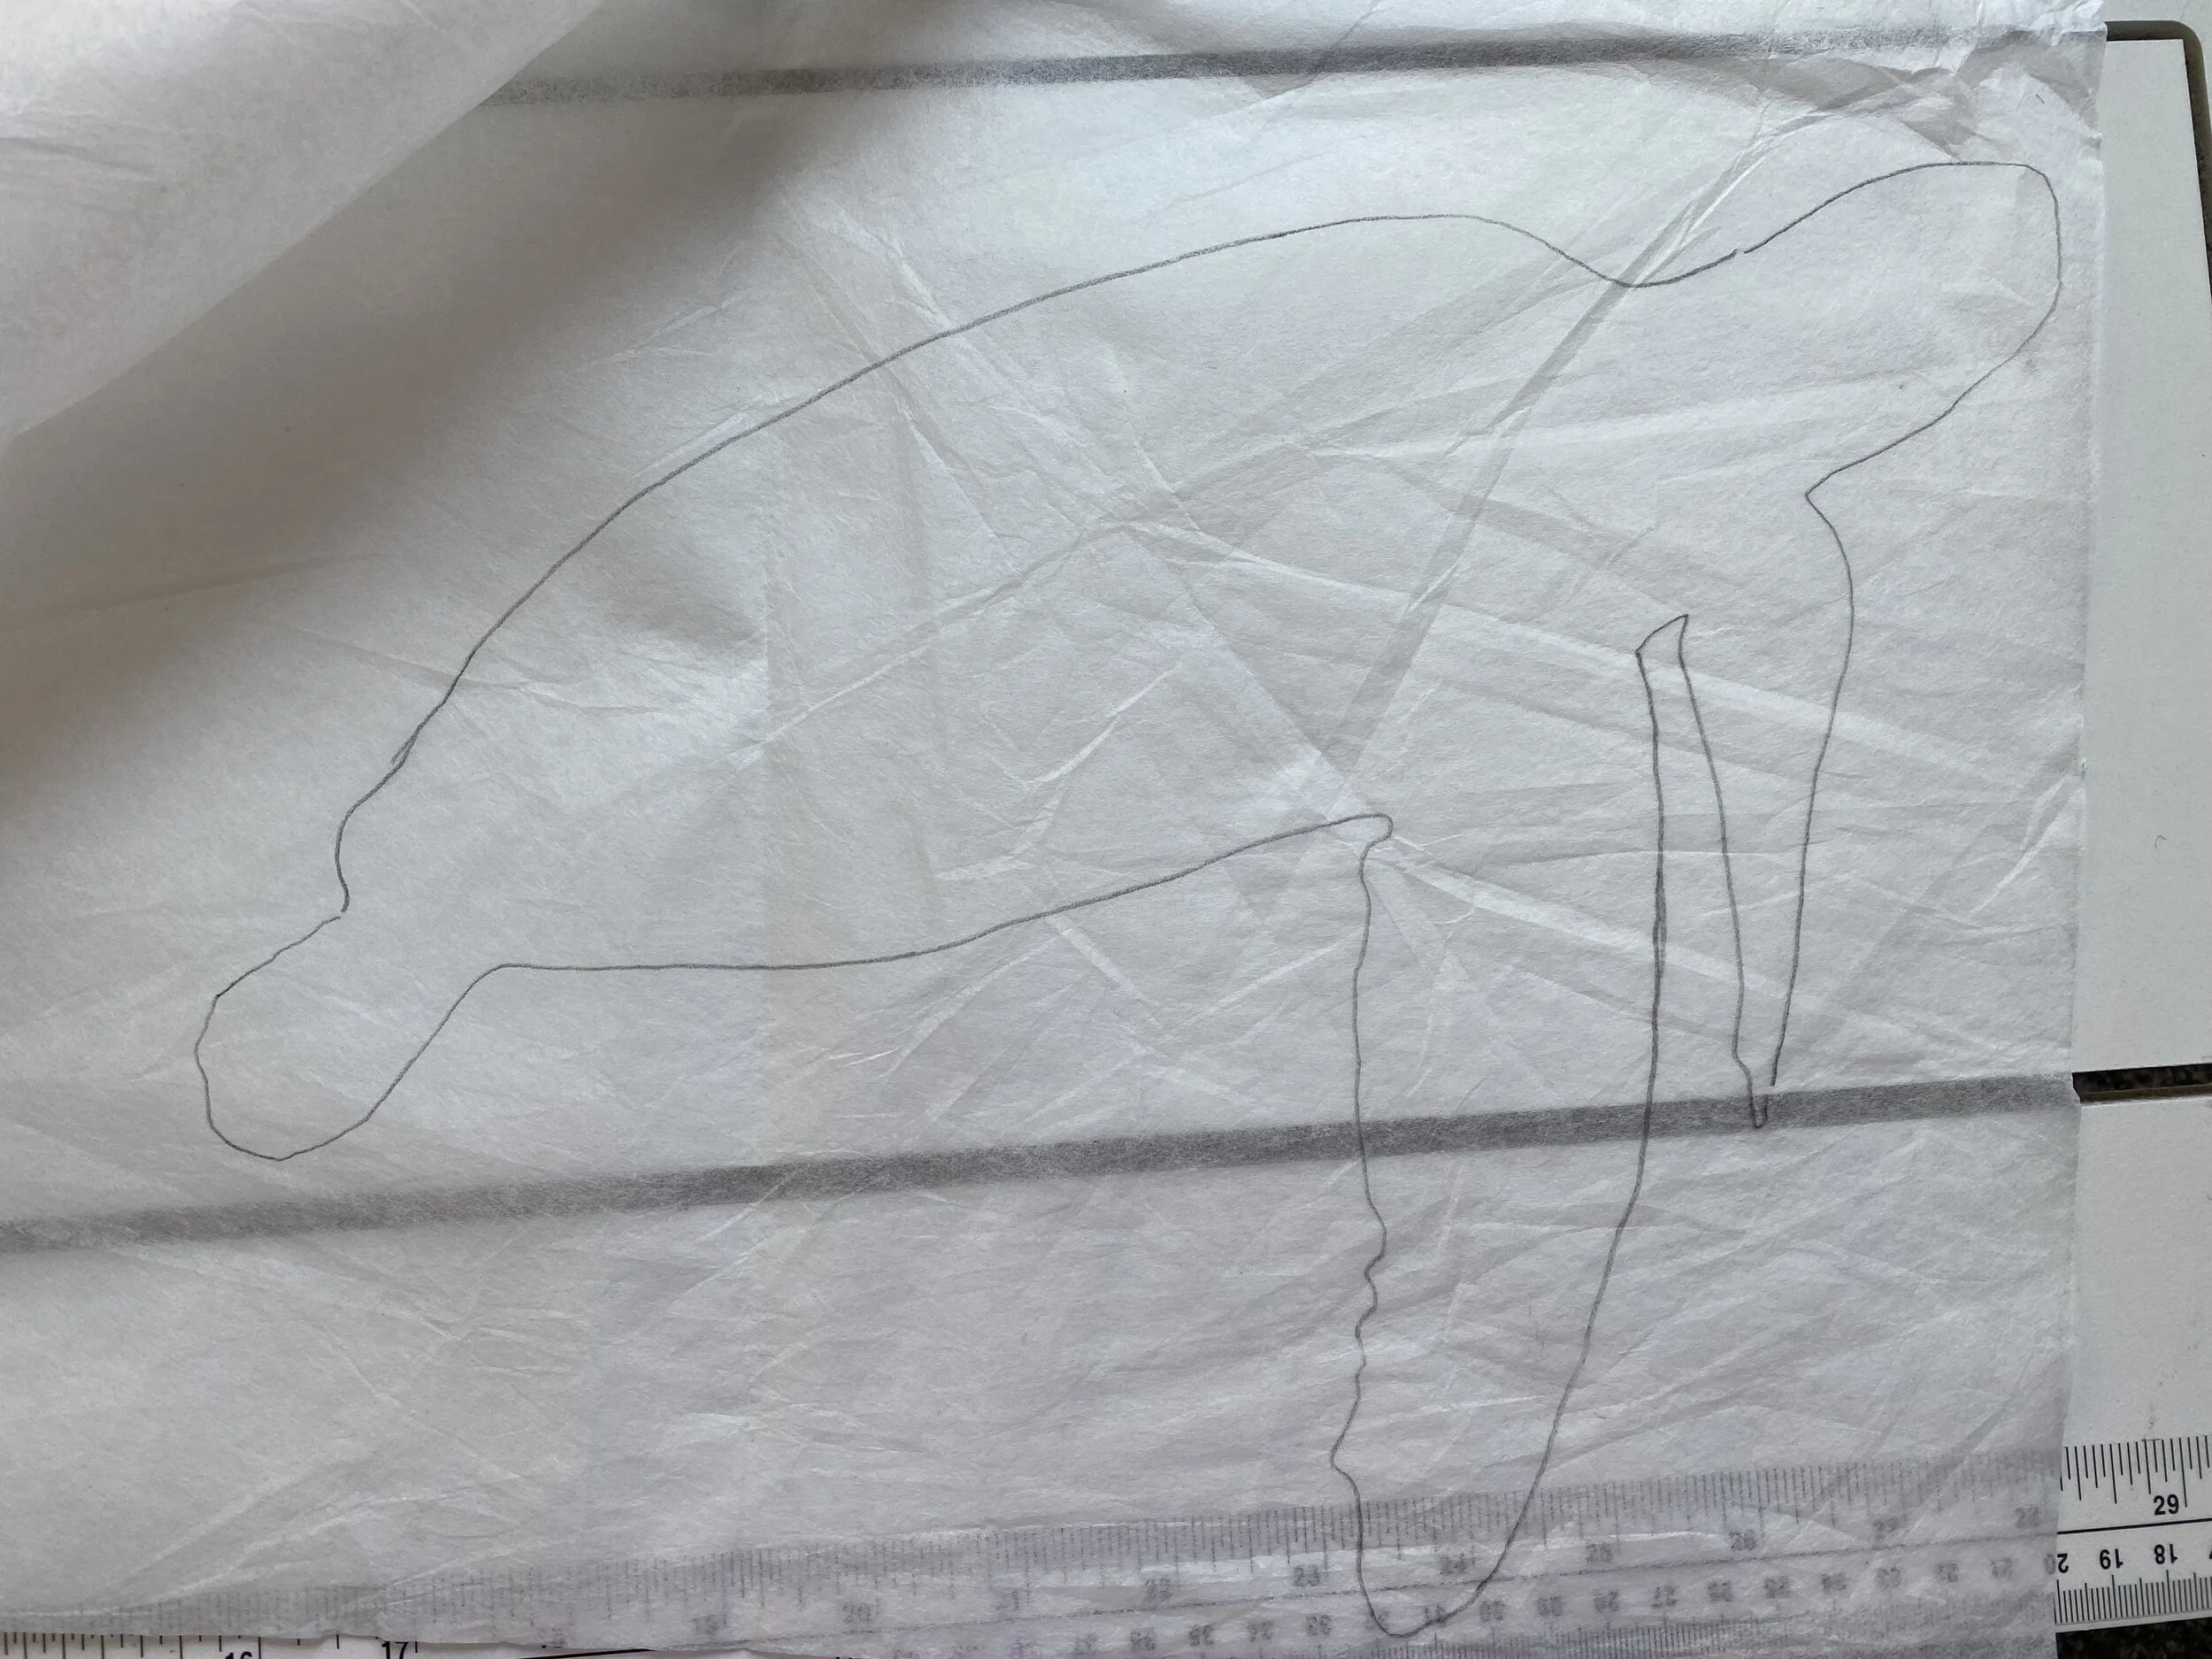
I build my applique pieces on Pellon 830. Trace only the outside edges about 1/16" to 1/8" smaller than the pattern.
It will look like this

I like to draw any directional lines on my Wonder Under pieces. Then I pick the fabric pattern direction I want.
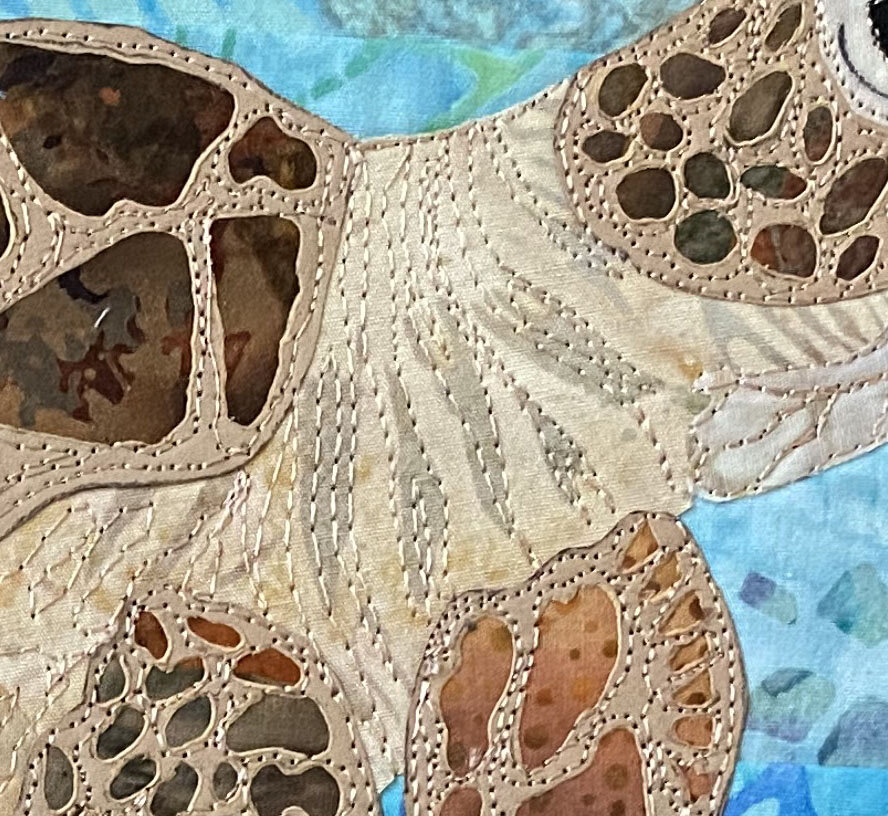
For example, the sagging creases in the neck. Then free motion over those lines for quilting.
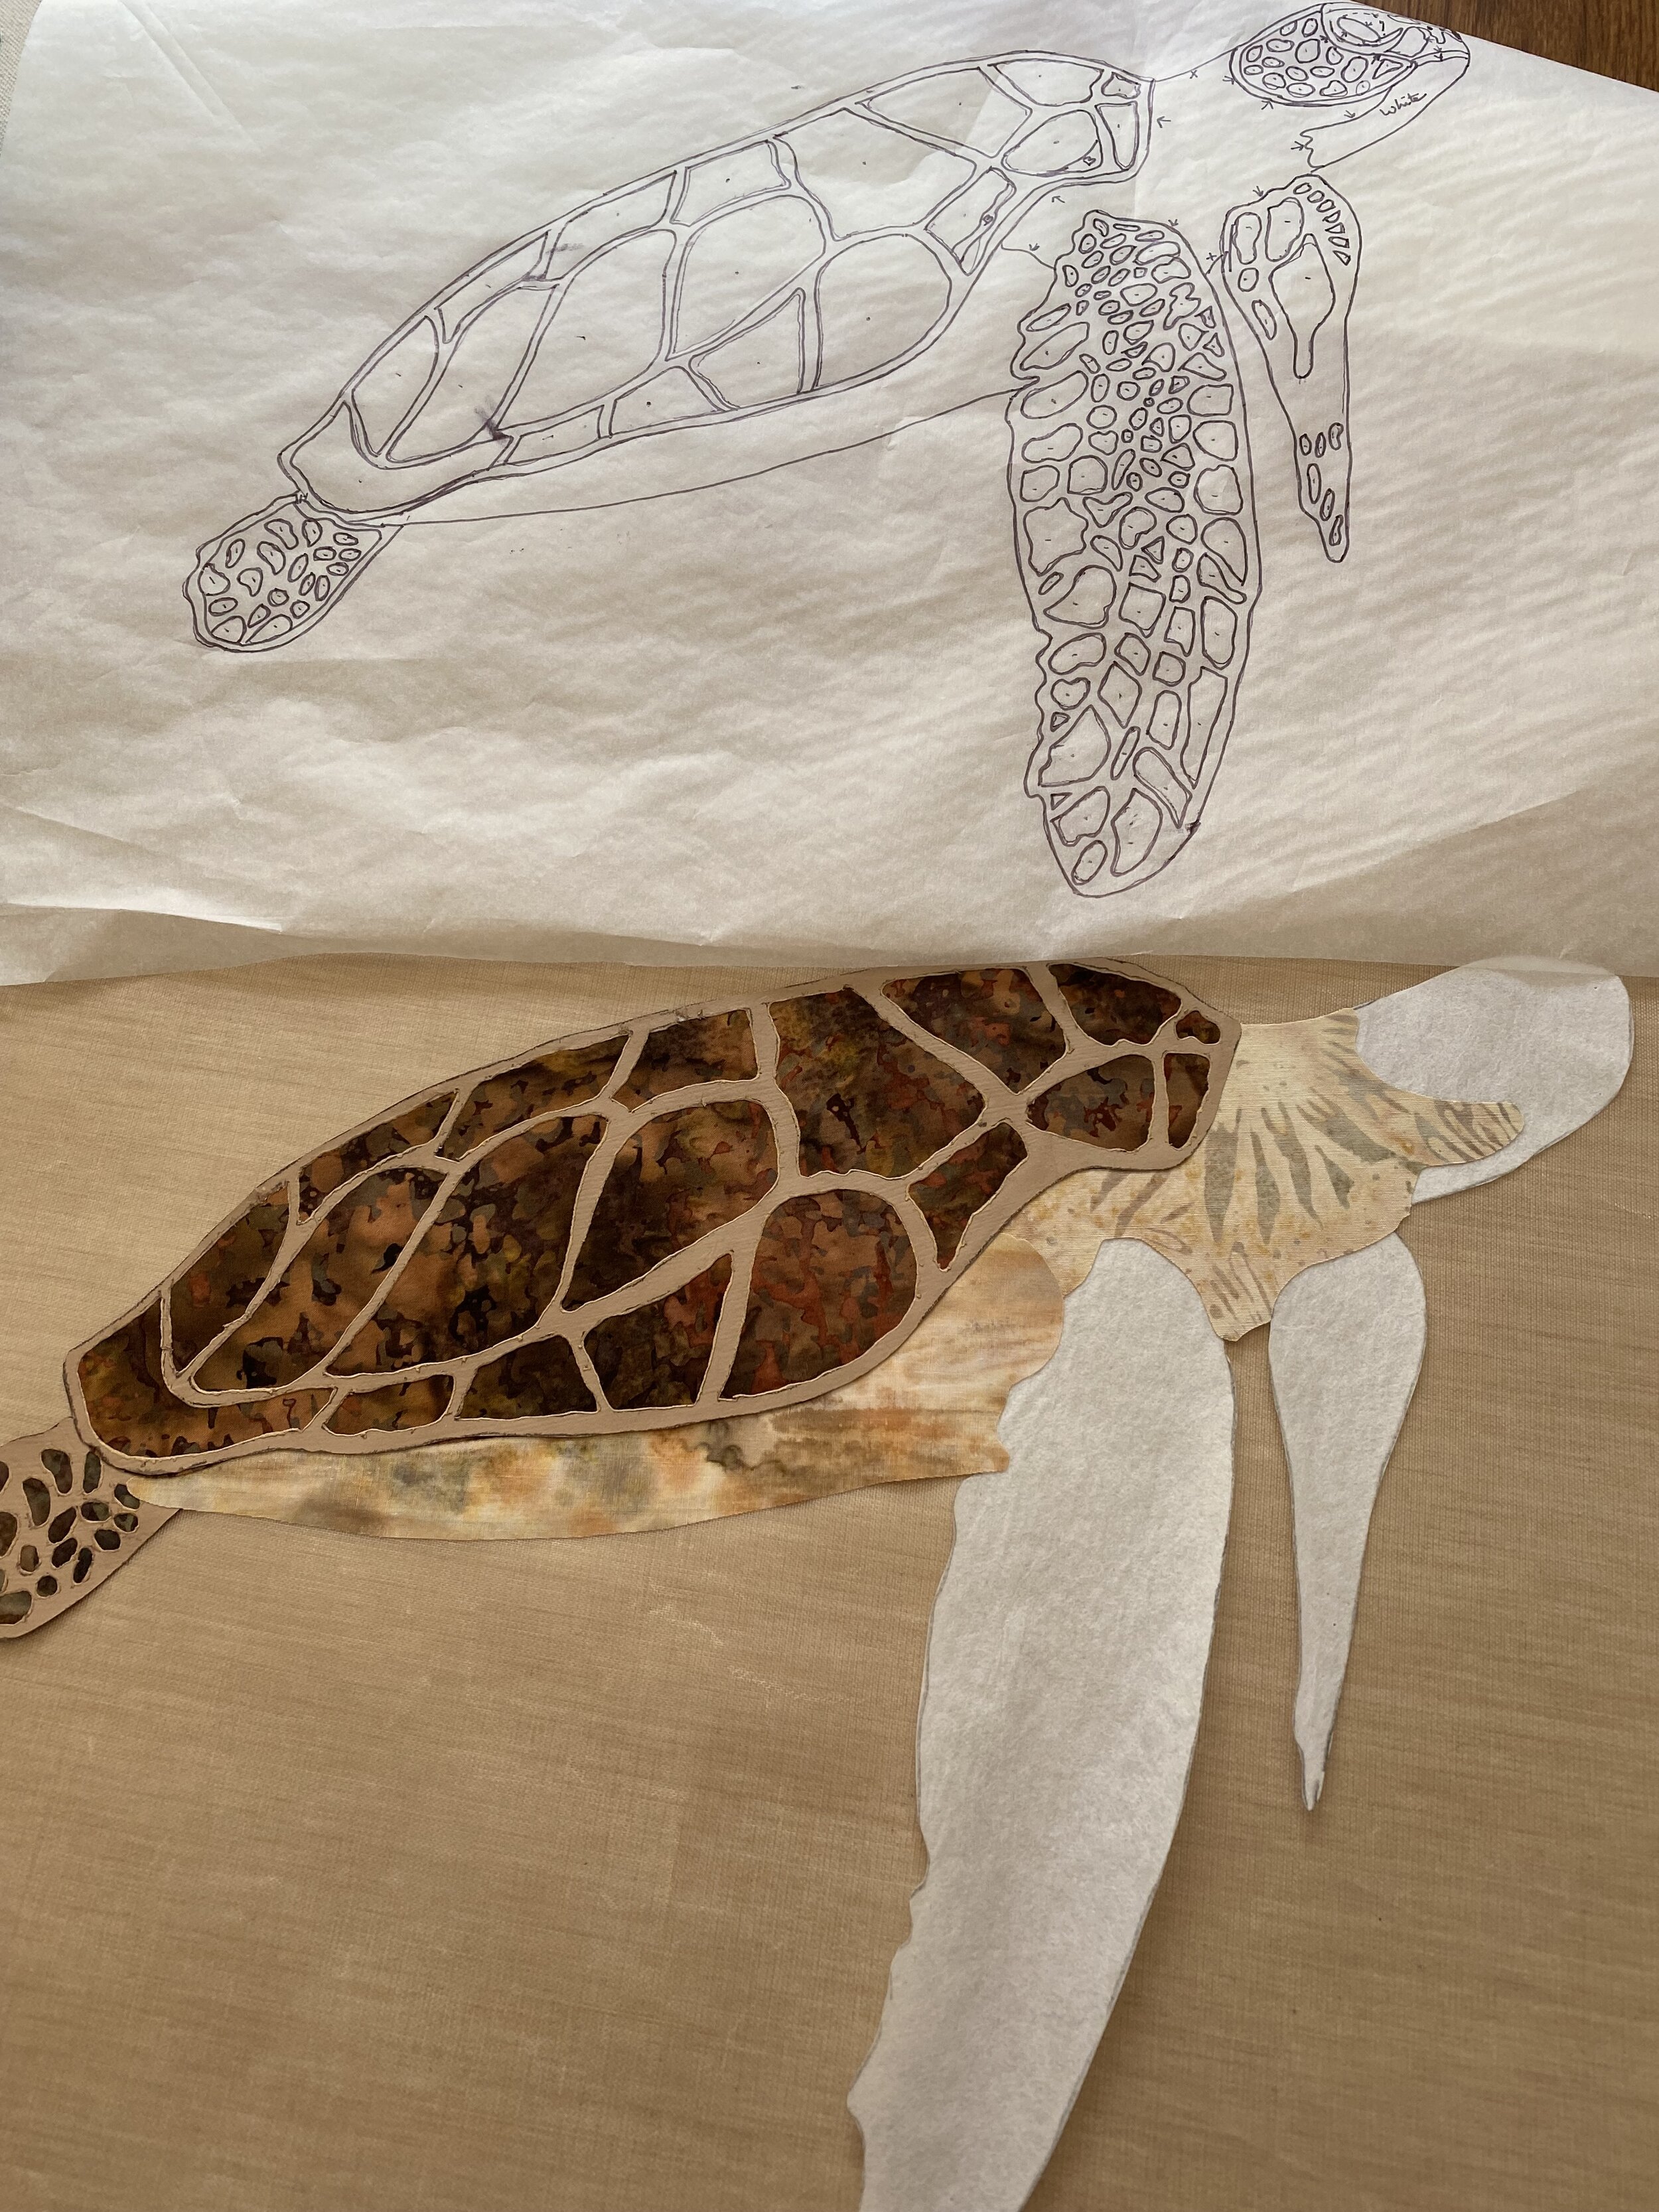
Here, I'm building the pieces on the Pellon 830.

I cut Pellon 809 one inch shorter to be able to iron 1/2" and then again, so no raw edges.

I folded the edges down a little smaller between the pins to allow room to sew flap without it being too short or tight.
Close up of quilting the Pellon

The entire cover front and back
I ran out of room in my art quilt journal. I enjoyed making the cover for the last one so I used the directions on the website again : https://www.wikihow.com/Make-a-Book-Cover to cover a notebook for my second one.
I have always wanted to do a sea turtle, so decided this was to be the theme of my cover. This cover was a little more difficult than my first one, because instead of using one piece of fabric, I wanted to sew together eight 2" fabrics for strip piecing. Instead of starting with the background like I did with the first one, I started with the appliqué so that I could audition fabrics that would go well with it for the background strips. I immediately decided that the Betty Busby technique would be perfect for the turtle, so I got some Pellon 830 that I had and painted it brown. I didn't like the color it turned out to be, so the next morning I used a different combination of fabric paints to paint the back side. The second set of colors were white, burnt sienna, expresso, with a touch of yellow ochre. I drew a pattern for the turtle that would allow for using a heat tool. The painted 830 was too thick to see the pattern on a light box, so I used transfer papers to transfer the designs for the legs and head onto the painted 830. TIP - REVERSE, or flip the pattern over, and using the transfer paper mark on the BACK side of the 830. You do this for 2 reasons. Your markings will not show when you "cut" them out with the heat tool and the burned lines are much cleaner and sharp than the side your burning on. It will make a much neater and clean outline. Another tip, since you can't see the lines you are making unless you lift the pattern and transfer paper, put a dot on the circles or shapes as you draw around them, so you'll know what you have and have not already drawn. The center of the circles will be burned out, so you will not see them.
Use a sharp point on the heat tool to burn out the holes cleanly. You burn on a piece of glass or a mirror. Leave it on the glass until the holes are all burned and then gently lift the piece and the "holes" will remain on the glass and be very easy to remove.
I build my appliqué pieces on Pellon 830. To do that, trace the pattern onto the 830. You need to trace the outside lines only. Trace the pattern 1/16 to 1/8" smaller than the pattern so that no white 830 will show around the edges when you build the applique. (shown above) You'll end up with an outline of the applique piece.
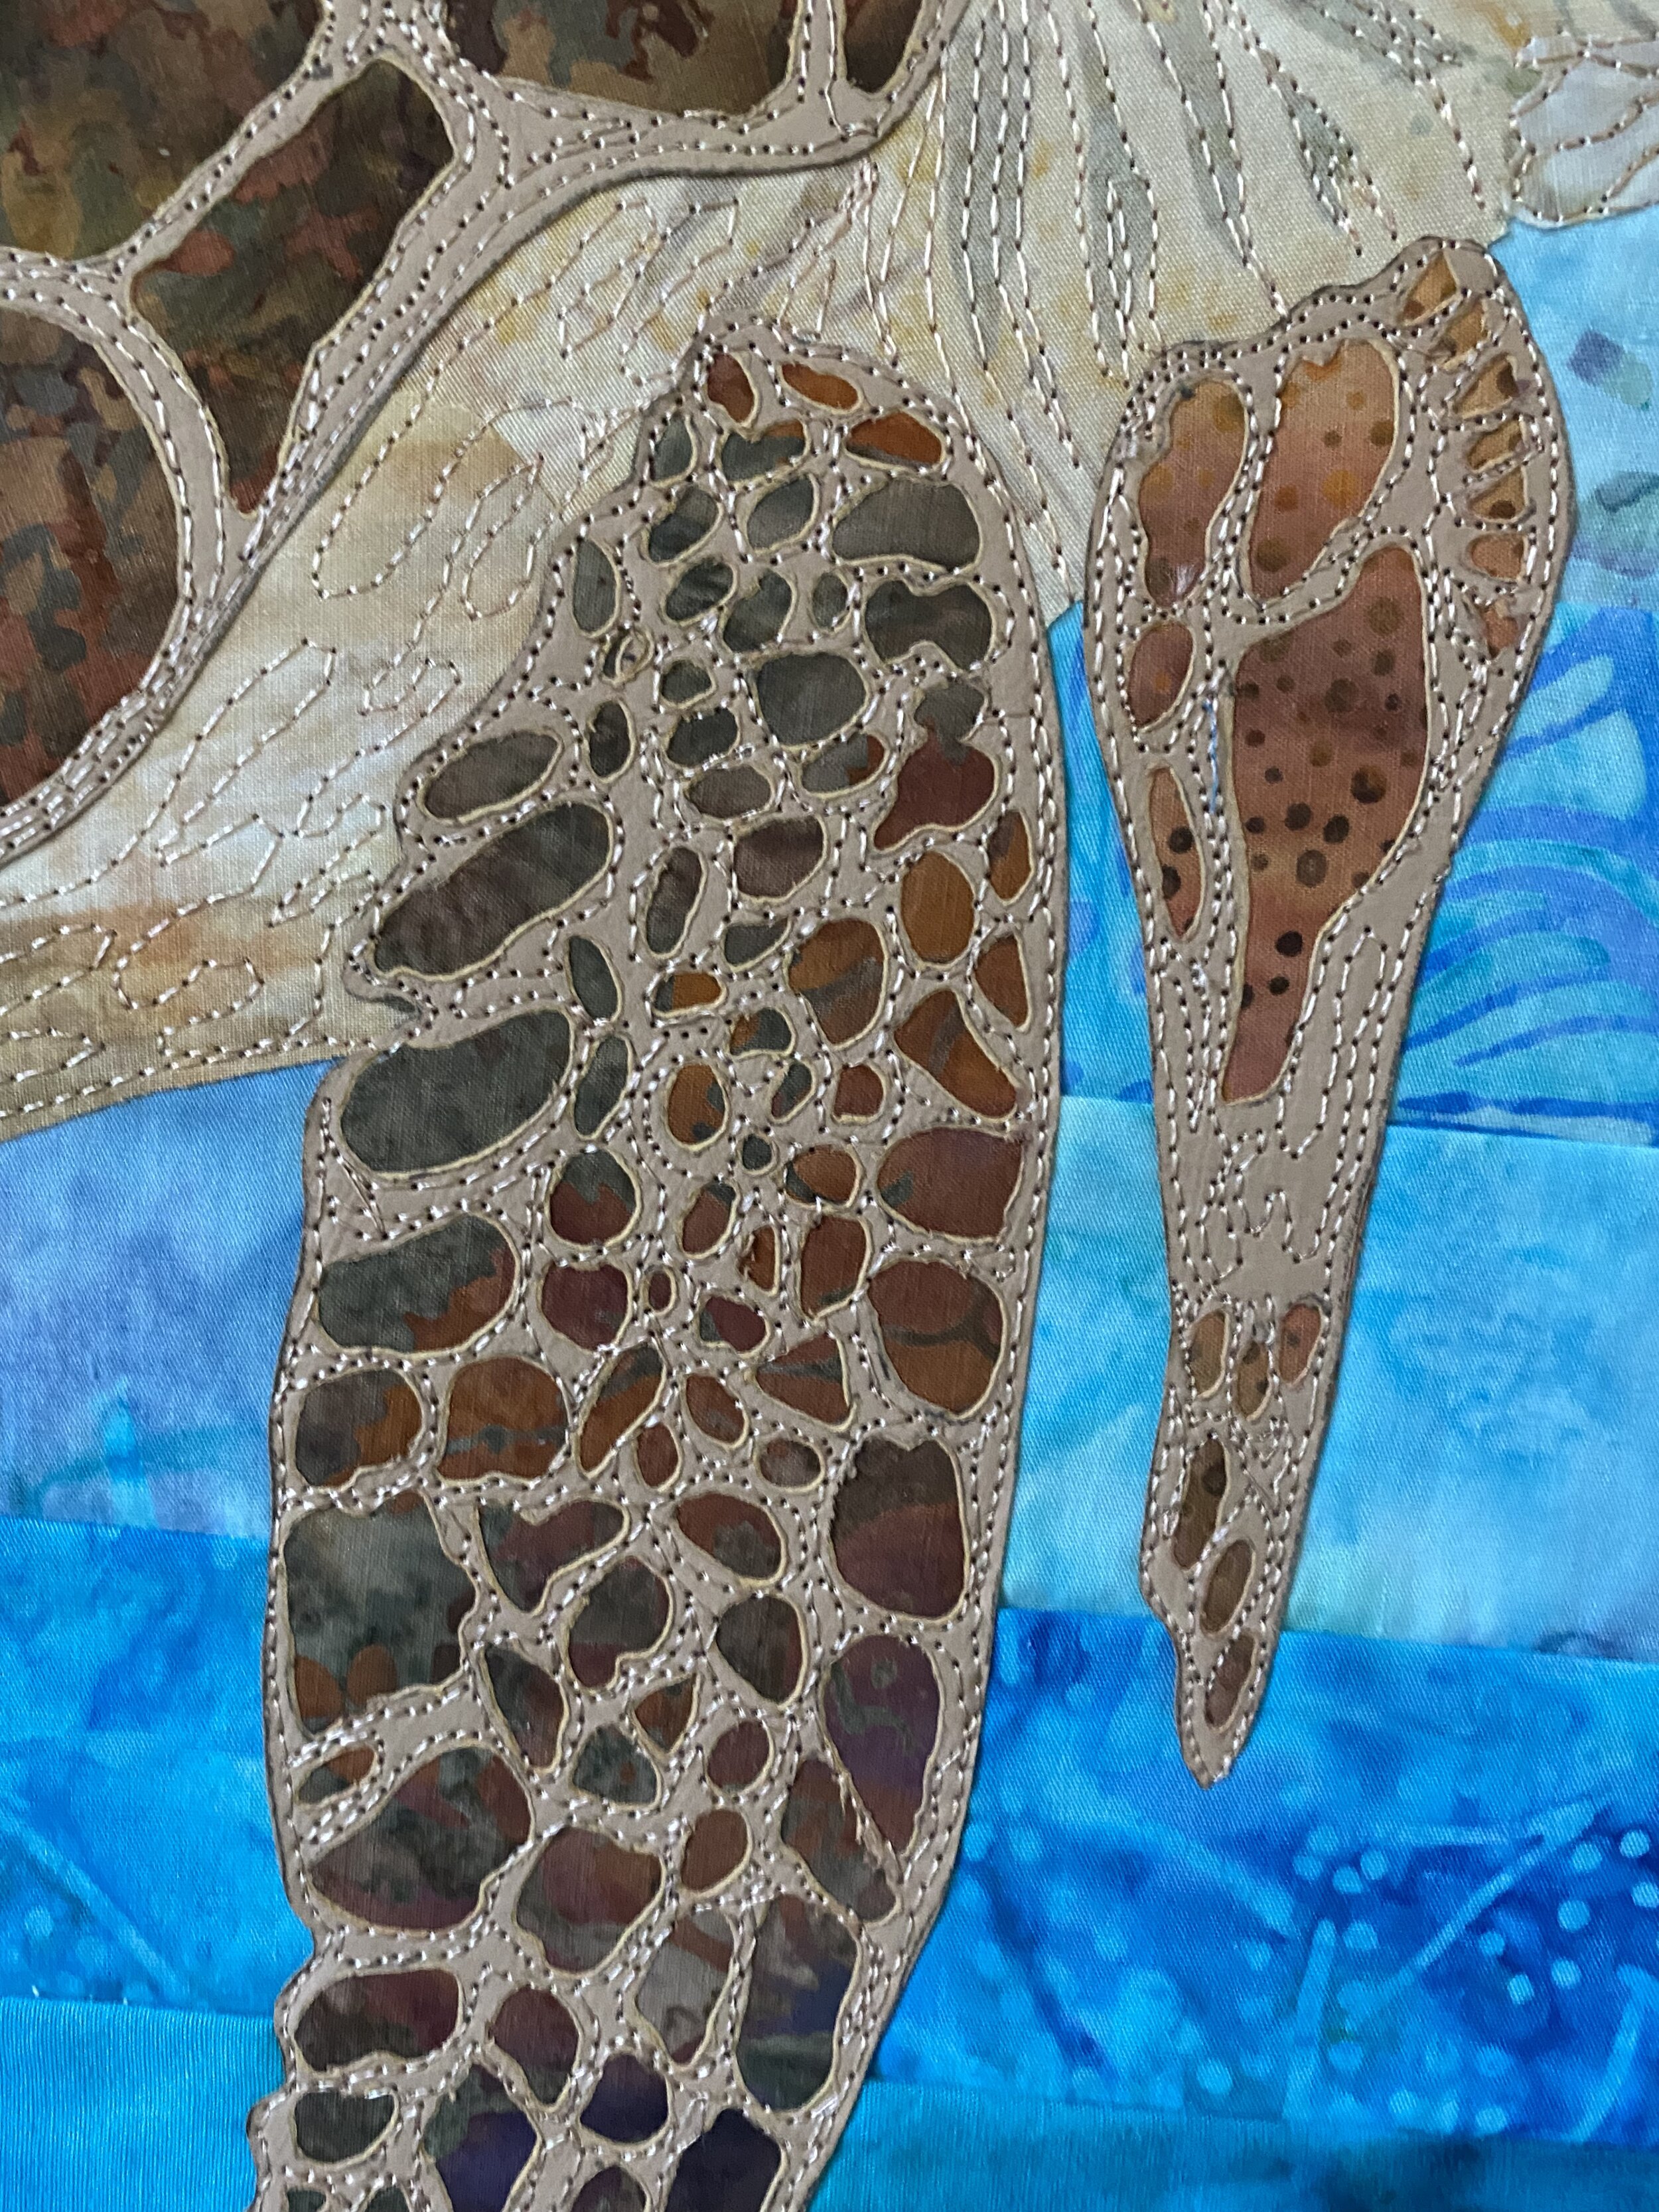
Another tip is that I like to draw any directional lines on my Wonder Under pieces. Then I place the Wonder Under pattern on the light box over the fabric I'm going to use and try to find a spot that has that same movement, for example, in this case the sagging creases in the turtle's neck. It makes it look realistic and you can free motion and enhance over those lines. See picture above.
Once your applique piece is finished, the rest is easy. Quilt the applique piece down on your fabric. Then place the fabric down on a flat work surface. Center the book on the fabric. I drew two horizontal lines across the fabric along the top and bottom edges of the book. I extended the edges of the fabric beyond the sides of the book by 5" for adequate space for flaps on each size. They suggest making it at least 2". Then when cutting, leave a 1" allowance above and below the horizontal lines to allow for a seam, which you will turn under 1/4" or 1/2" and iron and then again so you'll have no raw edges.
After cutting the fabric, and ironing it well, apply fusible interfacing. I used Pellon 809 Decor' Bond. I cut the interfacing only the height of the folder and the 2-5 inches longer on the sides depending on how much flap you want. Also, leave your 1/2"- 1" of fabric on the sides as well to turn under. I had cut the long sides 1 " longer then the interfacing. I fused the interfacing to the wrong side of the fabric by picking up the iron and placing it down in a new spot. You are not to glide it over the fabric.